

Cool Retro Term 就是一款让你「回到过去」的应用,它的作用与系统中的「终端」完全一致,特别的是,它模拟了各种古董级显示器的显示效果,年代感十足,下面良许教程网为大家分享一下Linux系统安装Cool Retro Term具体方法。

安装
这里只介绍Linux上的安装方法,macOS请参考说明或是下载编译好的
使用包管理器
如果你是ArchLinux或Ubuntu用户,可以使用包管理器进行安装,避免繁杂的编译安装过程。
ArchLinux
ArchLinux的官方仓库中已经包含了Cool Retro Term,执行以下命令安装:
# pacman -S cool-retro-term
或者从AUR安装开发版本:
$ yaourt -S cool-retro-term-git
Ubuntu
从PPA安装
 # add-apt-repository ppa:noobslab/apps
 # apt-get update
 # apt-get install cool-retro-term
编译安装
依赖
进行编译之前,先要安装一些依赖。不同的发行版所需的依赖不太一样,具体可以参考文档的部分
对于ArchLinux来说,应安装这些依赖:
# pacman -S qt5-base qt5-declarative qt5-quickcontrols qt5-graphicaleffects
编译
依赖装好之后,就可以开始编译了。执行以下命令:
# 从Github克隆到本地
$ git clone --recursive https://github.com/Swordfish90/cool-retro-term.git
# 开始编译(Fedora 和 OpenSUSE 用户需要使用 qmake-qt5 替换 qmake)
$ cd cool-retro-term
$ qmake && make
程序编译成功后,就可以使用下面的命令来运行它了:
$ ./cool-retro-term
添加至程序菜单
# cp cool-retro-term.desktop /usr/share/applications
使用
程序带有一些命令行参数,执行cool-retro-term -h可以查看这些参数:
"Usage: cool-retro-term [--default-settings] [--workdir] [--program --default-settings Run cool-retro-term with the default settings --workdir] [-p|--profile ] [--fullscreen] [-h|--help]" Change working directory to 'dir' -eCommand to execute. This option will catch all following arguments, so use it as the last option. --fullscreen Run cool-retro-term in fullscreen. -p|--profileRun cool-retro-term with the given profile. -h|--help Print this help. --verbose Print additional information such as profiles and settings.
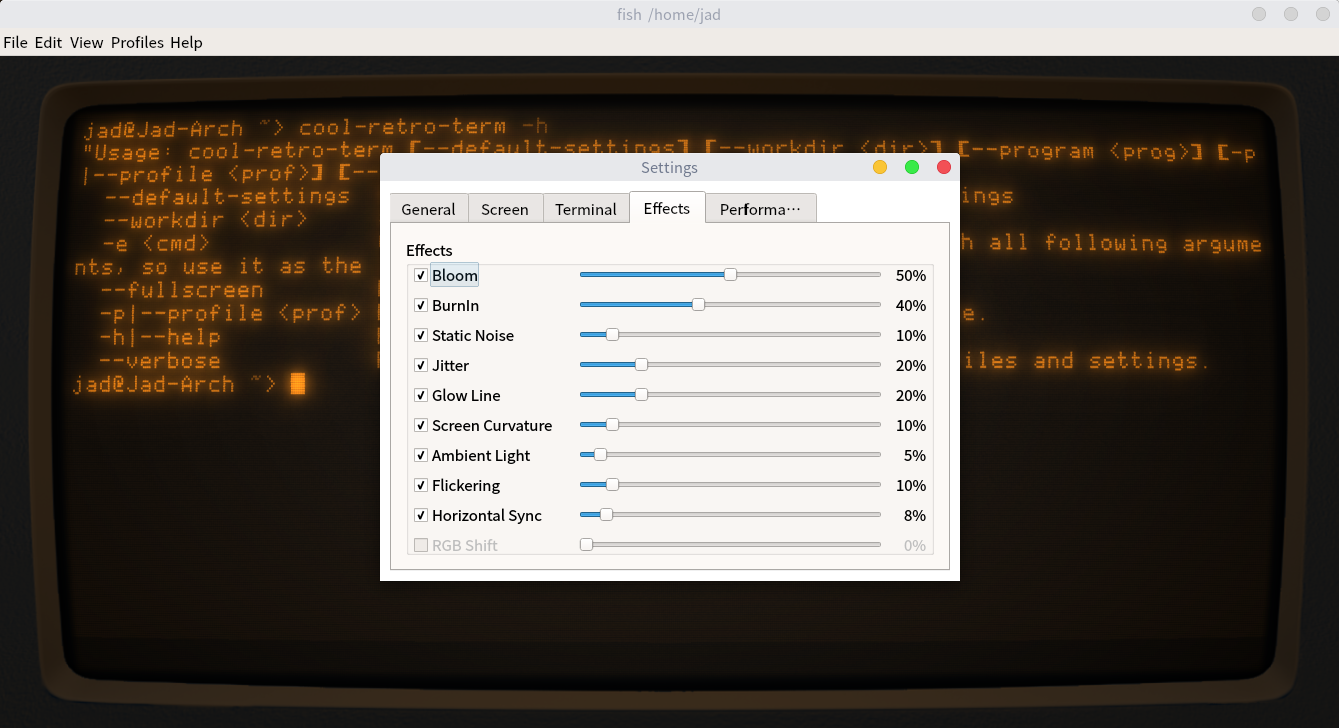
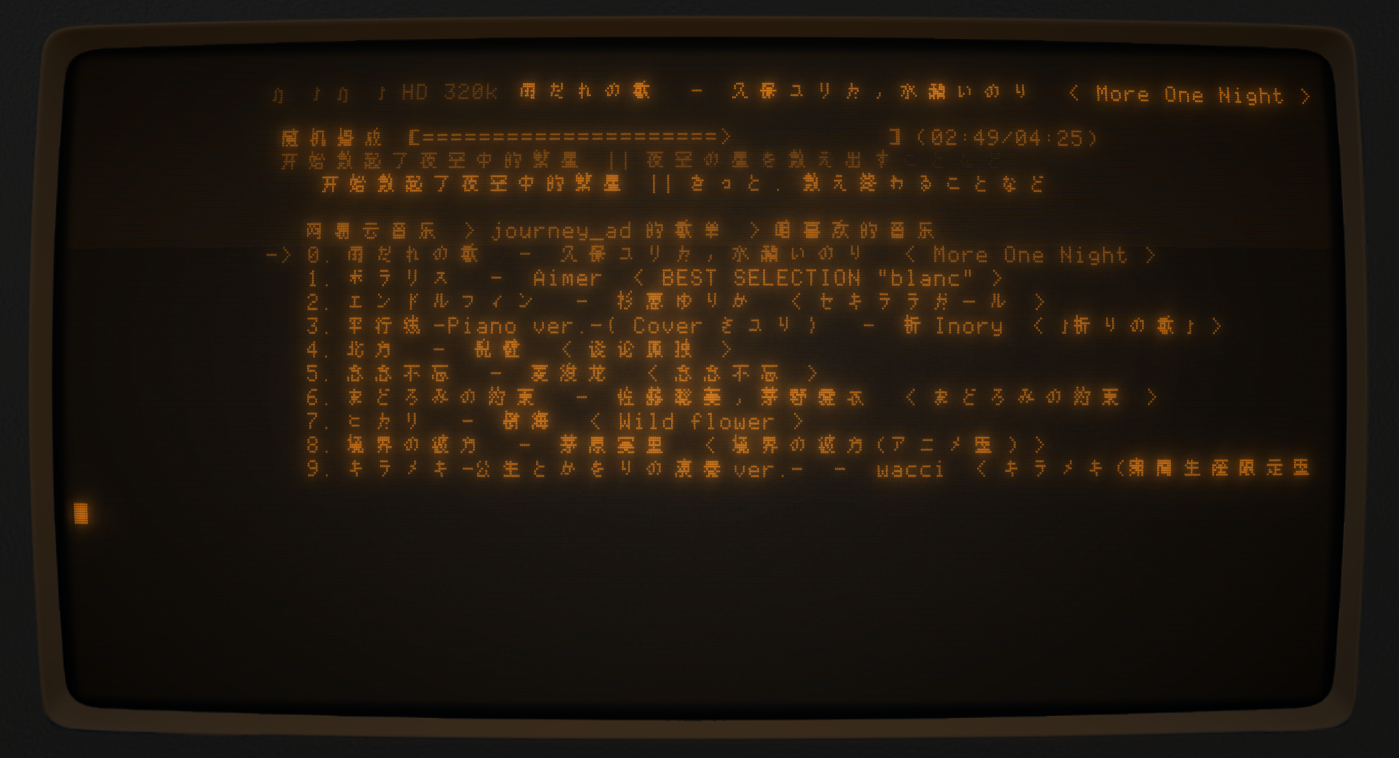
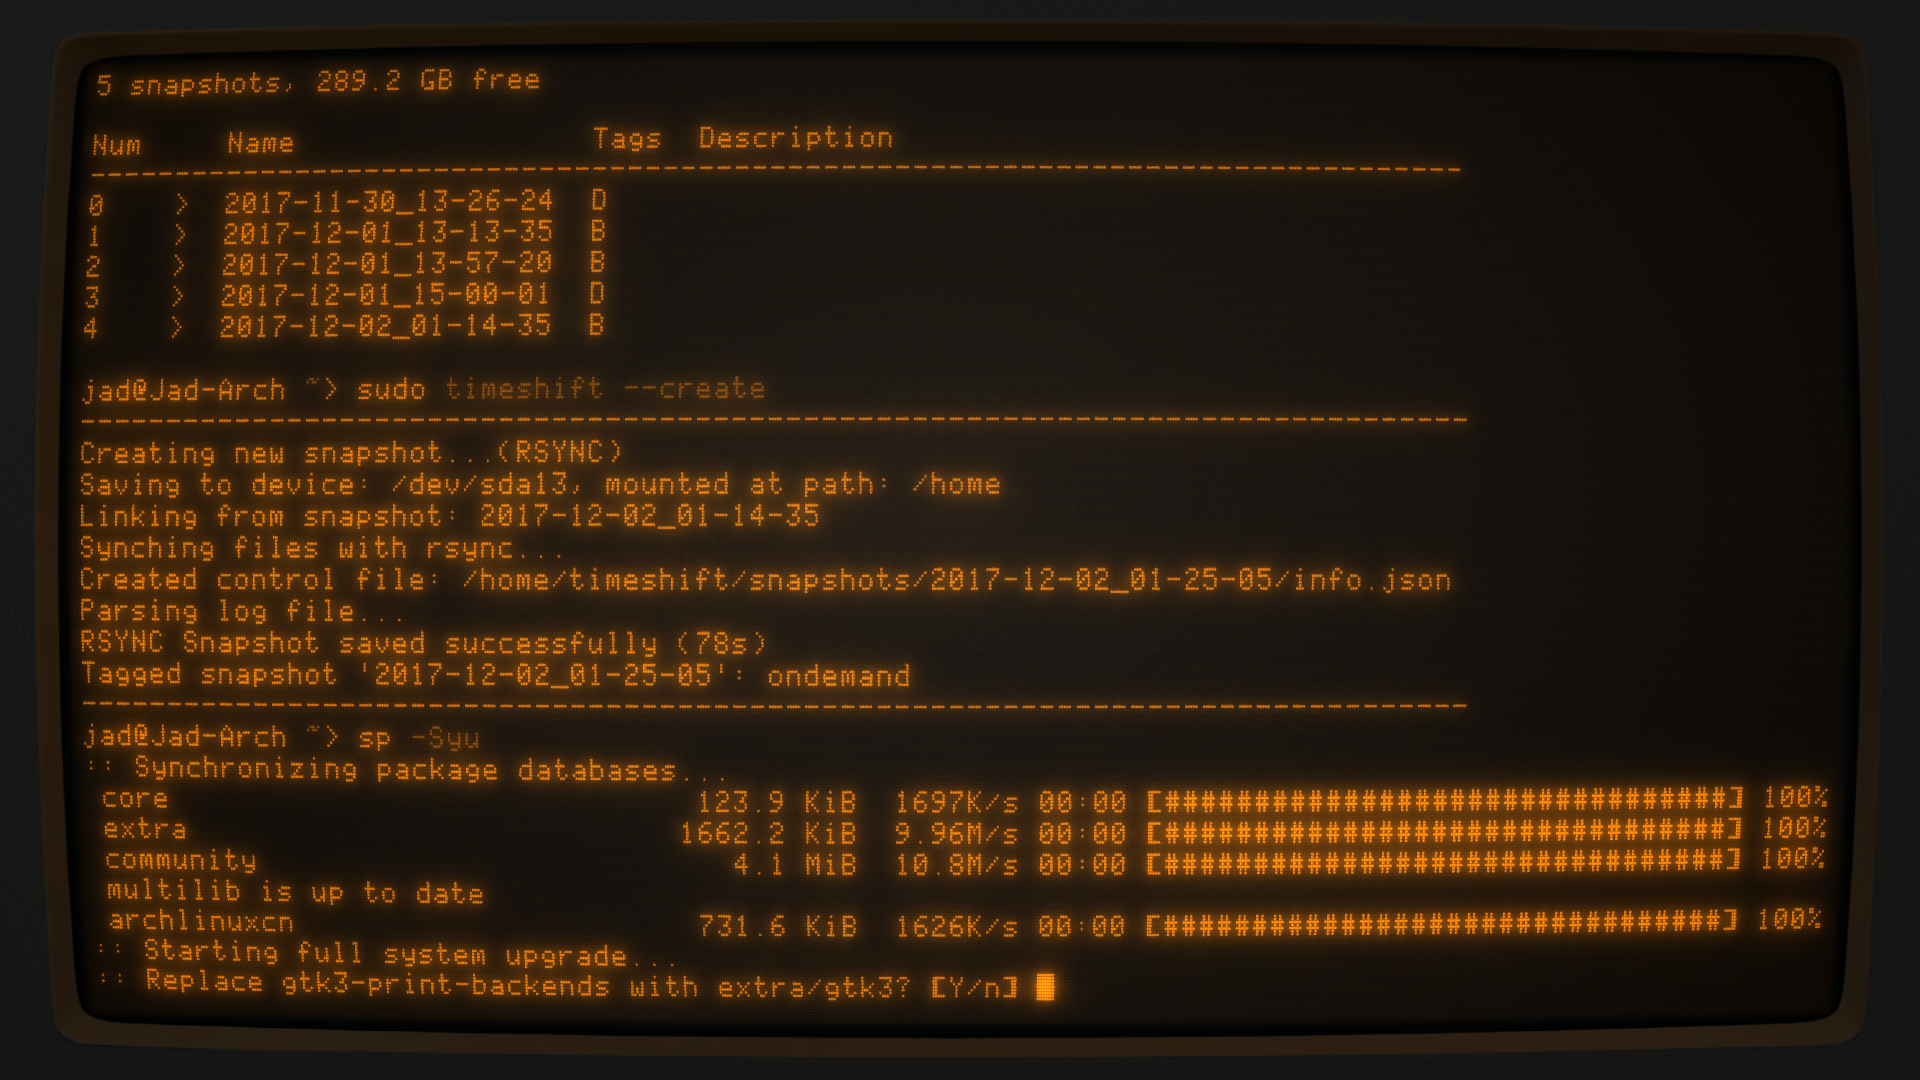
打开Cool Retro Term后,默认呈现的就是一台古老的CRT显示器的样子。若不喜欢默认样式,点击Edit-Settings可以进行设置。
Genreal选项卡里的Profile有一些自带的配置文件,点击Load按钮可以加载它们。点击New新建一个配置文件,然后可以进行具体的配置,调整效果实时可见,十分方便。
我的配置文件
 {
   "ambientLight": 0.05,
   "backgroundColor": "#000000",
   "bloom": 0.55,
   "brightness": 0.5,
   "burnIn": 0.4,
   "chromaColor": 0,
   "contrast": 0.85,
   "customCommand": "",
   "flickering": 0.05,
   "fontColor": "#ff8100",
   "fontName": "APPLE_II",
   "fontWidth": 0.95,
   "frameName": "SIMPLE_WHITE_FRAME",
   "glowingLine": 0.25,
   "horizontalSync": 0.15,
   "jitter": 0.1,
   "rasterization": 2,
   "rbgShift": 0,
   "saturationColor": 0.1,
   "screenCurvature": 0.1,
   "staticNoise": 0.1,
   "useCustomCommand": false,
   "windowOpacity": 1,
   "name": "Wasteland"
 }
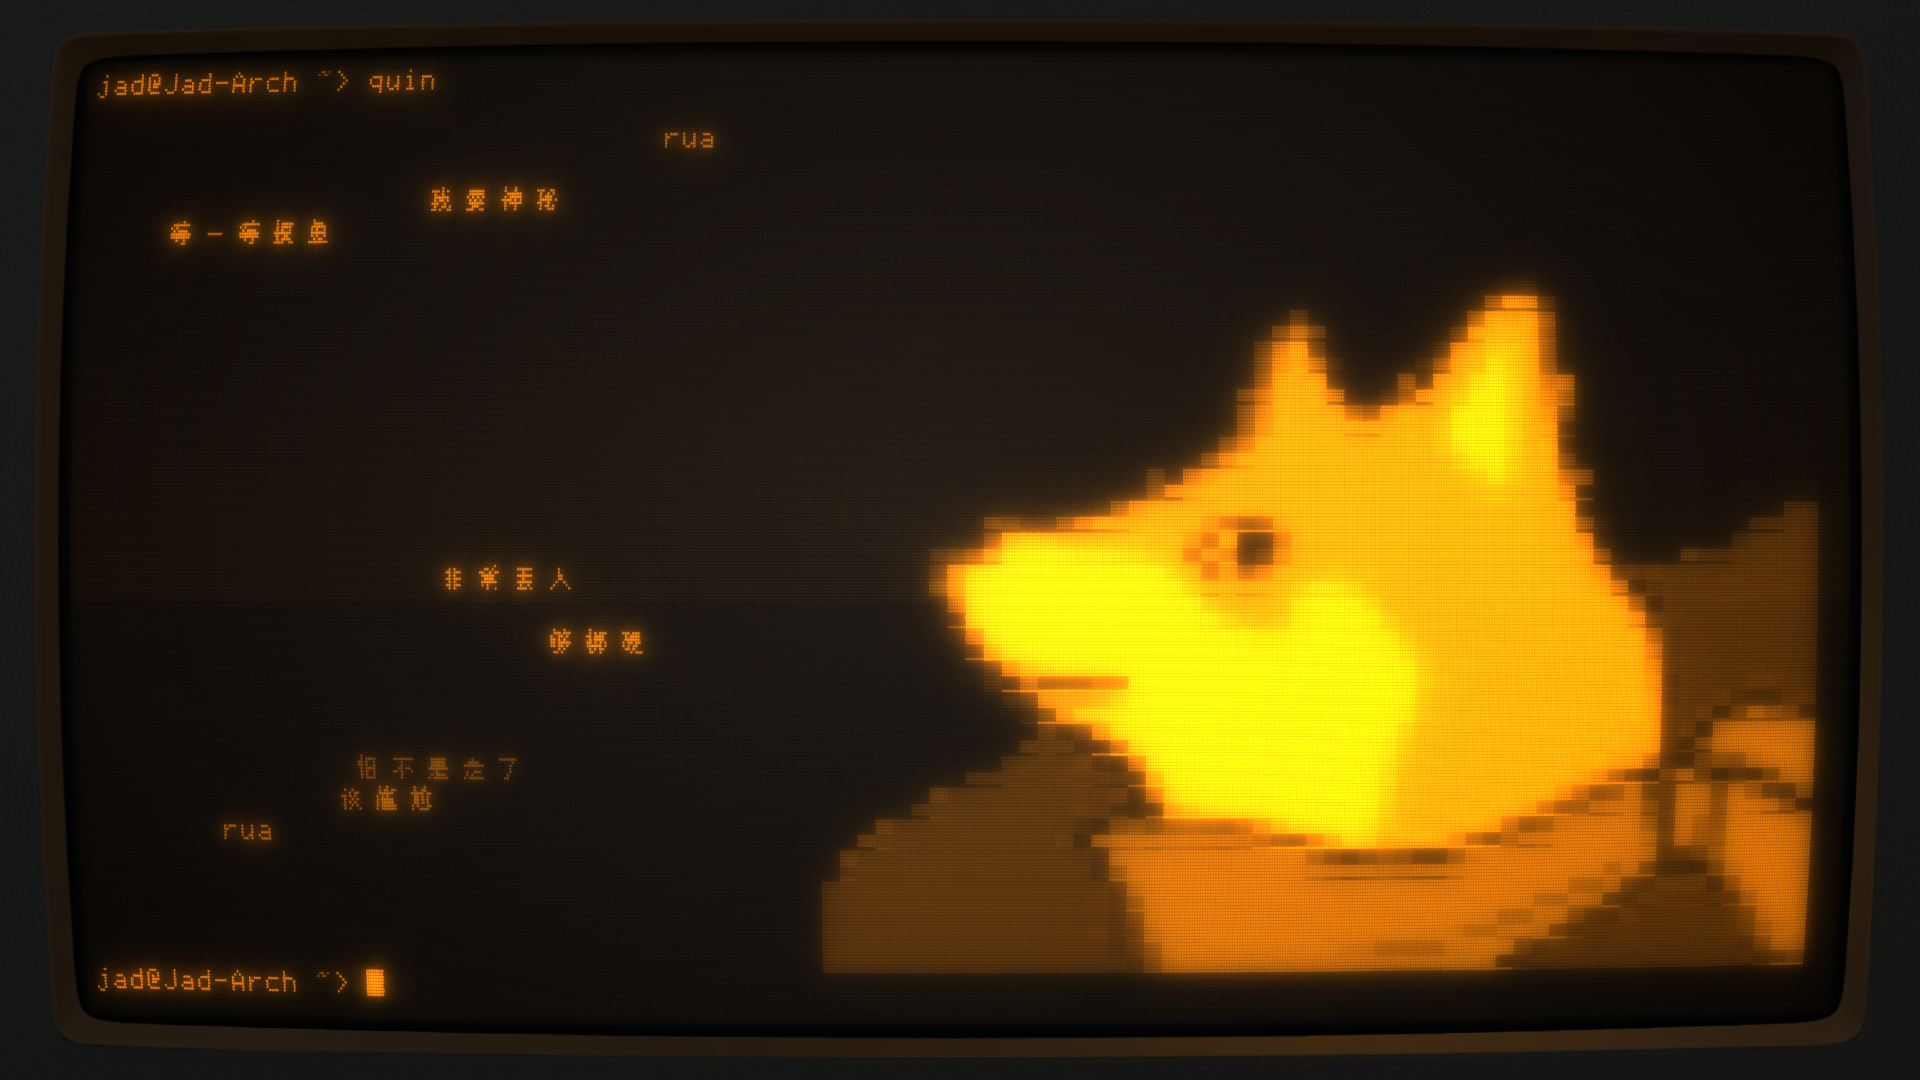
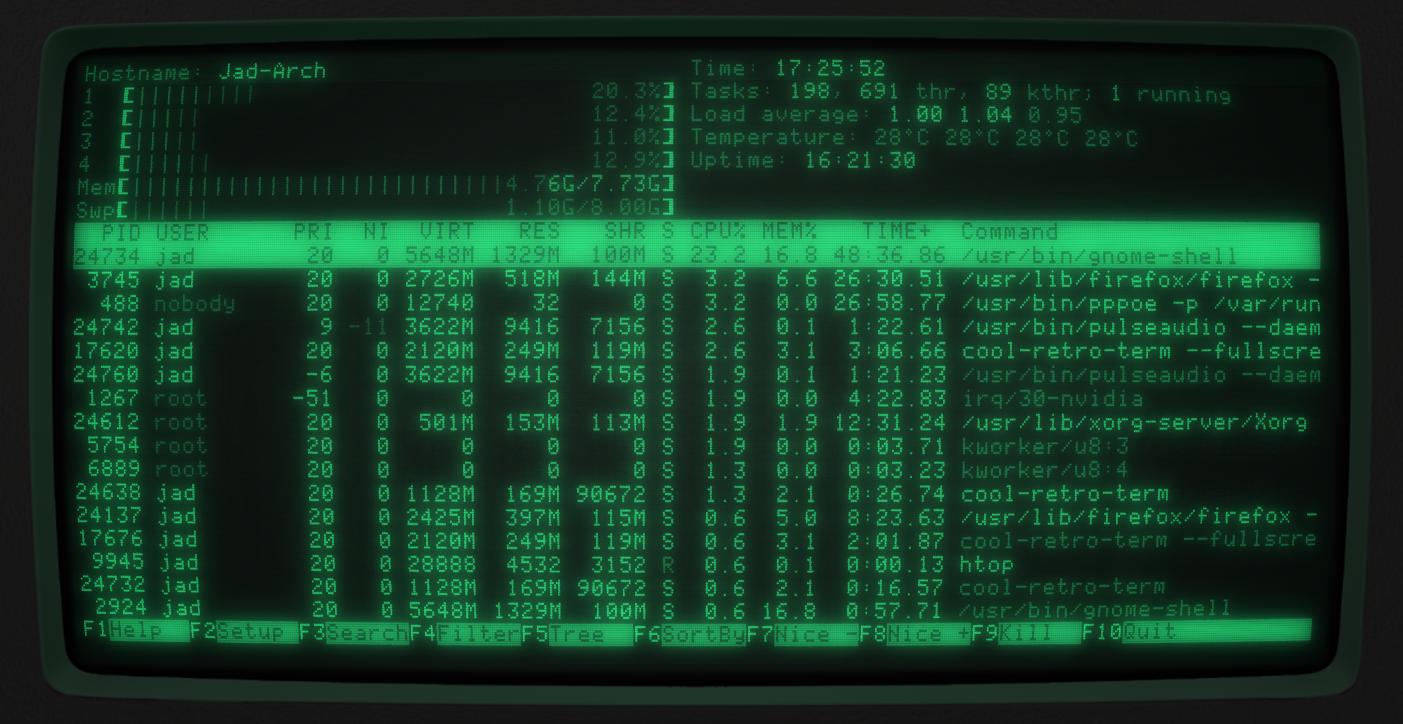
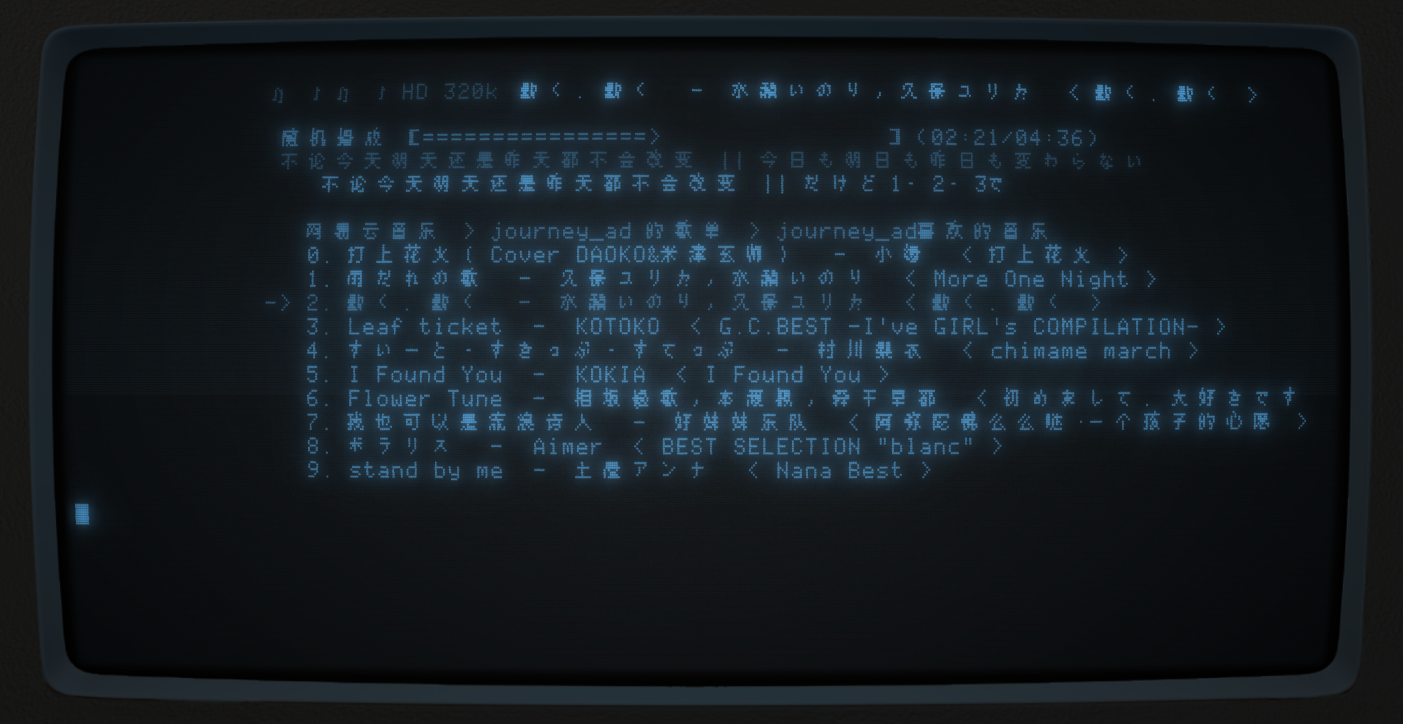
几张截图
以上就是为各位朋友分享的相关内容。想要了解更多Linux相关知识记得关注公众号“良许Linux”,或扫描下方二维码进行关注,更多等着你!

 微信扫一扫打赏
 支付宝扫一扫打赏

.png)

.jpg)